Educational Studies is an interdisciplinary field that employs qualitative, quantitative, and mixed methodologies to examine and address educational research, policy, theory, pedagogy, and related practices. Students who pursue course work in Educational Studies develop richly informed perspectives on the role of education in society. They go on to become leaders in a wide-range of fields: discipline-based research in higher education (e.g., anthropology, English, linguistics, psychology, sociology, math education, science education, computer science); museums and out-of-school learning, general education including teaching, school leadership and policy; community organization and development; clinical psychology, counseling, English as a second language, evaluation research, special education, social work; medicine; and law.
Students hone their research skills in upper-level courses, and, during the summer, they can apply for support to pursue further training through work on a professor’s project, or their own research interests. Experiences of this type provide students with a rich base from which to investigate their thesis questions as seniors at the College.
Our approach
The Department of Educational Studies at Swarthmore College is committed to anti-racism, social justice, and sustainability in the pursuit of liberation for all people. We believe children and youth deserve educational environments where they can experience joy as learners and thrive. Our mission exists in partnership with broader global struggles against anti-Blackness, anti-immigrant policy and practice, as well as structural racism and other intersecting systems of oppression. As a community of students, faculty, and staff, we aim to be reflective, innovative and collaborative in how we contribute to a more just and equitable world. Our goals reflect this mission.
In an era of anti-racist and anti-oppressive movements, students and faculty in Educational Studies at Swarthmore use research, theoretical frameworks and pedagogical practices from a range of disciplines to explore and question. We are committed to helping our students become critical practitioners, researchers, and/or policy makers who are positioned to create, and advocate for, caring and inclusive communities of learning both at Swarthmore and in the larger communities in which we work.
Our scholarship and practice
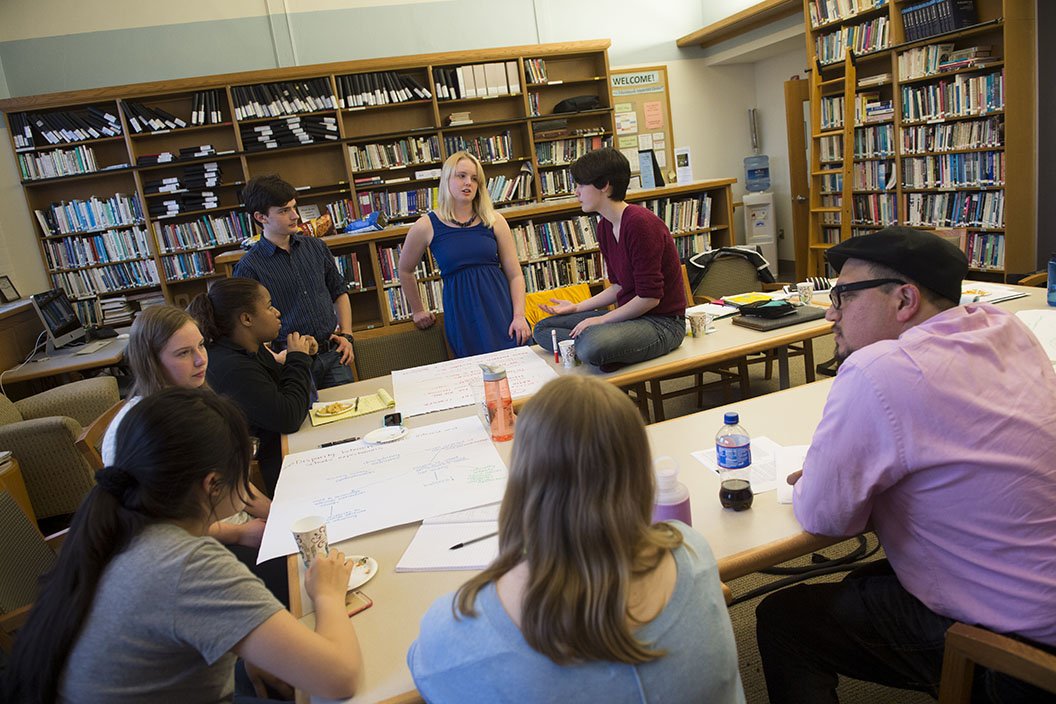
Faculty members in the department conduct engaged scholarship: research and practice that is grounded in partnerships with schools, practitioners, and communities, in suburban and urban settings that range from classrooms to community programs. Students often contribute as research assistants and collaborators. Some recent examples of faculty projects on which students have assisted include:
While on a field trip in April, the Spring 2022 class in Teaching Diverse Young Learners visited Harriett's Bookshop in Philly. Jeannine Cook gave them a tour of the bookshop.
Dr. Flores has a Ph.D. in Urban Education from the CUNY Graduate Center. His research attempts to bridge theory and practice in ways that transform educational programming for language-minoritized students. His research agenda works to (1) problematize current trends in language education that reproduce oppressive language ideologies (2) develop new research methodologies for analyzing language practices of these oppressive frameworks, and (3) re-imagine language education in ways that resist these ideologies.
Ashley Hong '17: The American Education Research Association (AERA) undergraduate student education research workshop during the annual 2017 AERA conference in San Antonio, Texas was an amazing opportunity. It consisted of learning about graduate school from current doctoral candidates, networking with undergraduate peers entering the field, exposing myself to the work of junior and senior scholars, and exploring how to conduct precise, methodologically sound research. Because I majored in sociology, I was particularly excited to meet others in fields outside of educational studies – such as cognitive science and nonprofit development – whose work and research questions also revolve around education. For me, the workshop reaffirmed the necessity of education research, and how it can and should be used to impact perspectives and policy. The workshop also affirmed my interest in and commitment to education policy research. I am currently in a research assistant position focused on educational opportunities and support for vulnerable youth.
What do alums do with a Swarthmore Educational Studies background or degree? Read about seventeen Swarthmore alums and their careers after college.